
Editing on a phone is convenient… until it isn’t.
If you’ve ever tried to trim clips, sync audio, add captions, and export in high quality on a tiny screen, you already know the struggle.
That’s why a lot of creators start asking the same thing: Can I get CapCut on PC?
If you want more space to edit, better control, and a smoother workflow, you’re in the right place.
I’ll show you where to get CapCut safely, how to install it on Windows or Mac, and what your computer needs to run it without headaches.
Table of Contents
- Can I Get CapCut on PC?
- Where to Download CapCut Safely (Official Site + Microsoft Store)
- How to Install CapCut on Windows
- How to Install CapCut on Mac
- How to Use CapCut on PC (5-Step Quick Start)
- CapCut PC System Requirements (Windows + Mac)
- How to Use CapCut on PC (5-Step Quick Start)
- Best CapCut Desktop Features (what you actually get on PC)
- Frequently Asked Questions
- Conclusion
Can I Get CapCut on PC?
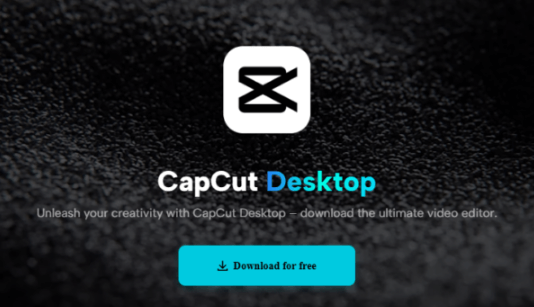
Yes, you can download CapCut on PC and use it as a proper desktop editor.
CapCut has an official desktop app for Windows and Mac, so you get a bigger timeline, more precise controls, and a less cramped workflow than mobile.
If you’re searching for CapCut on a laptop, you’re basically looking for the official desktop version (not an emulator). Next, I’ll show you the safest places to download it.
Where to Download CapCut Safely (Official Site + Microsoft Store)
If you want the latest version of CapCut for PC, the safest rule is simple: only download from official sources.
Option 1: CapCut’s Official Website (Windows + Mac)
Go to CapCut’s official desktop download page and pick your device (Windows or Mac). This is usually the best option if you want the newest version straight from the source.
Option 2: Microsoft Store (Windows)
If you prefer app-store installs (easy updates, fewer “where did my file go?” moments), you can also install CapCut from the Microsoft Store on Windows.
Quick Safety Checklist (Don’t Skip This)
- Avoid “cracked” or “modded” downloads (that’s where most malware lives).
- Skip random third-party sites offering “special installers.”
- Stick to official sources for the cleanest, safest install.
What About a “CapCut Offline Installer”?
A lot of sites claim they have a CapCut offline installer, but many of those files aren’t official. The same caution applies if you’re looking for old versions of the CapCut Pro APK — stick to official sources rather than random third-party downloads. If you want the safest route, use the official download options instead.
How to Install CapCut on Windows

1) Download CapCut from an official source
Use either:
- CapCut’s official website, or
- the Microsoft Store (Windows)
This helps you avoid fake installers and random third-party downloads.
2) Open the installer
- Go to your Downloads folder.
- Double-click the CapCut setup file to start the install.
- If Windows pops up a security prompt, only continue if you downloaded from an official source.
3) Complete the setup
- Follow the on-screen steps.
- When it finishes, open CapCut from the Start Menu (or a desktop shortcut if it creates one).
4) Sign in (optional)
You can sign in to sync projects across devices, or start a new project right away (depending on the features you want).
Quick note: If you’re on Windows 10/11, you’re good. For Windows 7, support can be inconsistent depending on the version you find, so I wouldn’t count on it for a smooth experience.
CapCut’s desktop version can be downloaded and installed directly from the official CapCut website, making it accessible for Windows and Mac users alike.
How to Install CapCut on Mac
1) Download CapCut (safe options)
The easiest way is to download CapCut from the official CapCut website. That helps you avoid fake downloads and “modified” installers.
2) Install the app
- Open the file you just downloaded (usually in Downloads).
- Follow the install prompts to add CapCut to your Mac.
3) Launch CapCut
- Open Finder → Applications, then click CapCut.
- If macOS warns you about opening a new app, approve it (as long as you downloaded from the official source).
4) Sign in (optional)
If you want project syncing across devices, sign in. If you’re just testing it out, you can usually start a new project right away.
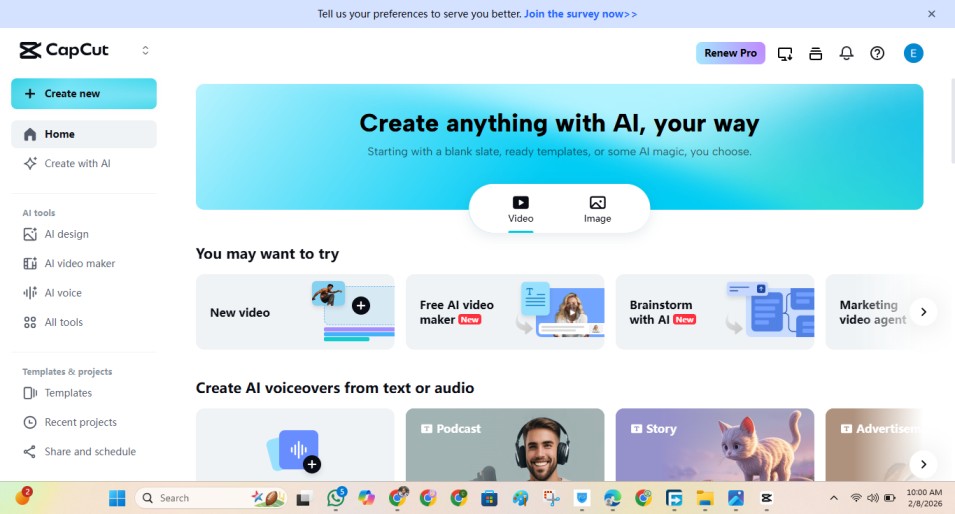
How to Use CapCut on PC (5-Step Quick Start)
Once CapCut is installed, your first edit is pretty simple. Here’s the fast workflow most creators use:
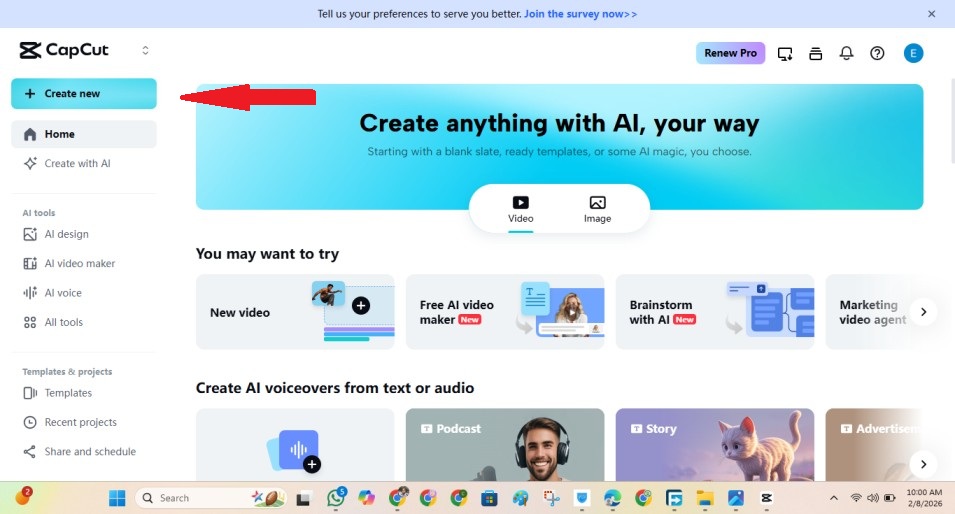
1) Start a New Project
Open CapCut and click New Project. This creates a fresh timeline where you’ll build your video.
2) Import Your Clips
Click Import (or drag and drop files into CapCut). Add your video clips, photos, and any music or voiceovers you want to use.
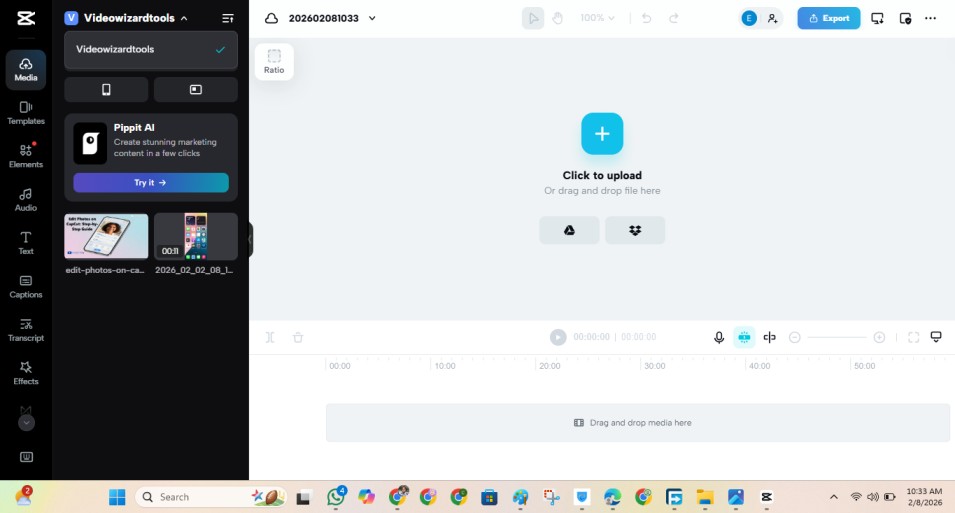
3) Edit on the Timeline
Drag your clips onto the timeline, then trim, split, and rearrange until the flow feels right. Desktop is way easier here because you can zoom the timeline and make precise cuts.

4) Add Captions, Text, and Effects
Add captions for clarity (especially for TikTok/Reels). Then layer in text, transitions, filters, or effects—just don’t overdo it. Clean edits usually perform better.
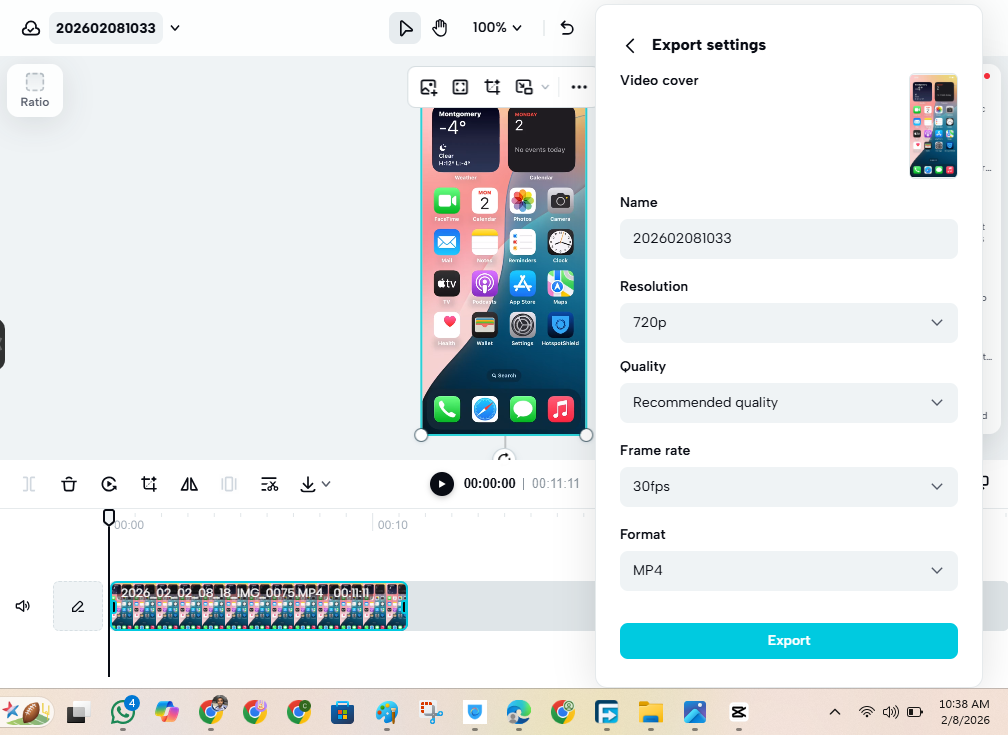
5) Export Your Video
Click Export, choose your resolution and format, then save the file. If you’re posting online, 1080p is a solid default for most creators.
CapCut PC System Requirements (Windows + Mac)
CapCut can run on most modern laptops and desktops, but you’ll have a much smoother time if your specs aren’t “bare minimum.”
Windows (recommended for smooth editing)
- OS: Windows 10 or newer (64-bit)
- CPU: Intel i5 (or similar) and up
- RAM: 8GB minimum (16GB is better if you edit a lot)
- Graphics: Integrated graphics can work, but a dedicated GPU helps with effects
- Storage: Keep a few GB free (more if you work with big videos)
Mac (recommended for smooth editing)
- OS: macOS Catalina (10.15) or newer
- CPU: Intel i5 or Apple Silicon
- RAM: 8GB minimum (16GB is better for heavy projects)
- Graphics: Any macOS-supported GPU (Apple Silicon is usually fine)
- Storage: A few GB free, plus space for exports
Real talk: If CapCut feels laggy, it’s usually RAM + graphics. Closing other apps and editing with proxy/lower preview quality can help.
How to Use CapCut on PC (5-Step Quick Start)
Once CapCut is installed, your first edit is straightforward. Here’s the workflow most creators use:
1) Start a New Project
Open CapCut and click New Project to create a fresh timeline.
2) Import Your Clips
Click Import (or drag and drop files in). Add videos, photos, music, and voiceovers.
3) Edit on the Timeline
Drag clips onto the timeline, then trim, split, and rearrange until it flows. Pro tip: zoom in on the timeline for cleaner cuts.
4) Add Captions, Text, and Effects
Add captions for clarity (especially for TikTok/Reels). Then layer in text, transitions, filters, or effects—keep it clean so your video doesn’t feel “busy.”
5) Export Your Video
Click Export, choose your resolution and format, then save. For most posts, 1080p + MP4 is a safe default (and match the frame rate to your footage if you can).
Best CapCut Desktop Features (what you actually get on PC)
CapCut on desktop isn’t just “the mobile app on a bigger screen.” You get extra breathing room for editing, plus tools that feel more comfortable with a mouse and keyboard.
1) A bigger timeline (and faster workflow)
You can see more of your clips at once, make tighter cuts, and move things around without fat-fingering the screen.
2) Advanced animation controls
Desktop makes it easier to work with keyframes for smooth motion, zooms, and transitions—especially when you’re stacking effects.
3) Better color and polish tools
You get useful color adjustments to make your video look cleaner, brighter, or more “cinematic” without needing another editor.
4) Effects, filters, and templates that are actually usable
CapCut’s effects are a big reason it’s popular. On PC, it’s easier to preview, compare, and apply them without slowing yourself down.
5) AI tools that save time
Depending on what’s available in your version/region, CapCut can help with things like:
- Auto captions
- Quick text/voice features
- “One-click” style enhancements
(These are the features that make CapCut feel “fast” when you’re posting often.)
6) Easier exporting and sharing
Exporting is usually smoother on a computer, and it’s easier to upload to TikTok/YouTube when your files are already on your desktop.
Frequently Asked Questions
Quick answers to common questions about downloading, installing, and using CapCut on PC (Windows & Mac).
Conclusion
So yes, you can get CapCut on PC, and it’s honestly one of the simplest ways to level up your edits without switching to some complicated “pro-only” software.
If you want the smoothest experience, download it from an official source, install it in a few clicks, and make sure your computer meets the basics (especially RAM).
That one detail alone can be the difference between buttery-smooth playback and a timeline that stutters every time you add effects.
Once you’re set up, editing just feels easier. You’ve got more screen space, more precise control, and a workflow that makes sense when you’re cutting clips, adding captions, syncing beats, and exporting cleanly.
Bottom line: if you’re serious about creating content consistently, CapCut on desktop is a solid upgrade, and you can start today with the same style and tools you already enjoy on mobile.l way less stressful.