
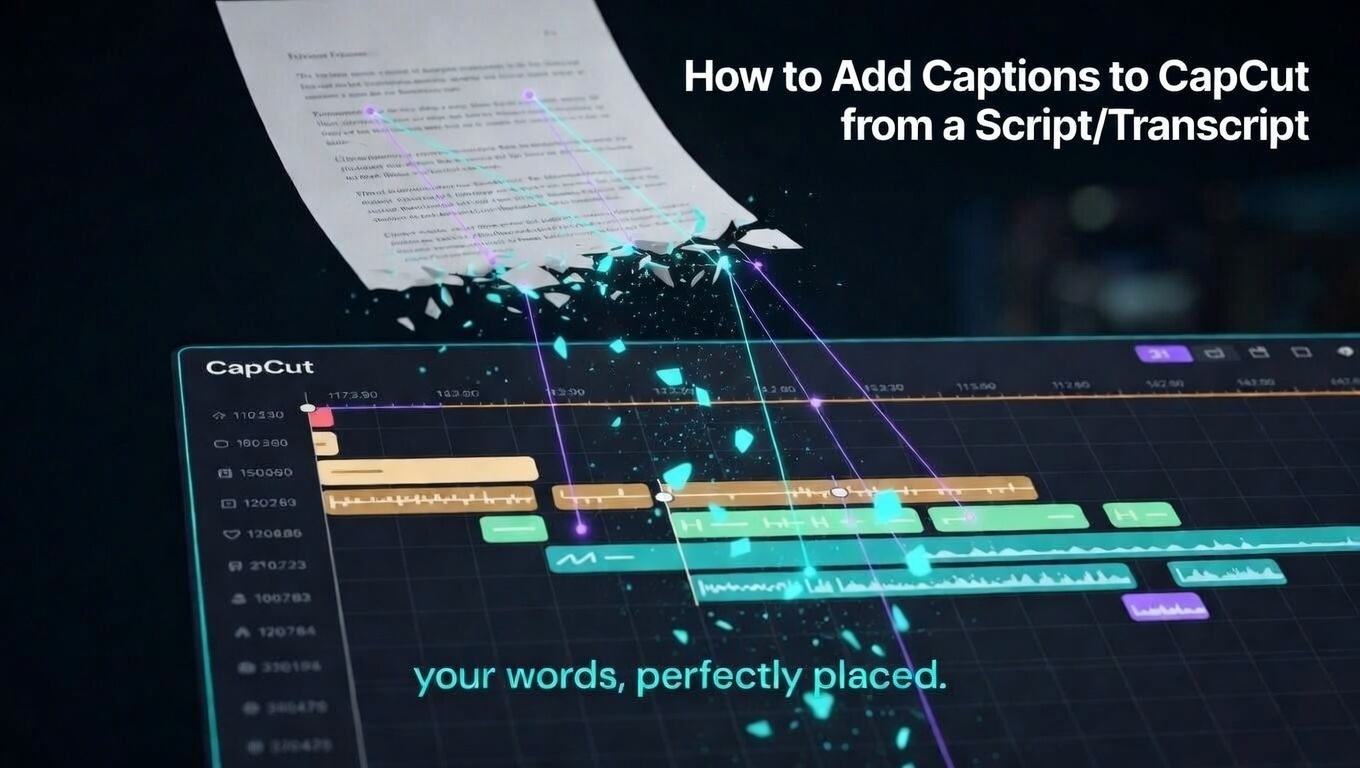
You already have the script.
Maybe it’s a YouTube transcript, a podcast episode, a course lecture, or something a client sent over.
The words are written. Edited. Final.
Now comes the annoying part, turning all that text into perfectly timed captions in CapCut… without retyping everything or fixing a ton of auto-caption mistakes.
Here’s the thing. The usual method, auto captions, then hours of editing, is a huge time drain when your text is already accurate.
There’s a smarter way.
You can take your existing script and sync it directly to your video using CapCut and a few simple techniques. No guesswork. No unnecessary edits.
In this guide, you’ll learn different ways to turn scripts and transcripts into clean, perfectly timed CapCut captions, from quick copy-paste methods to more advanced syncing workflows.
So whether you’re working with a short script or a long interview, this will save you serious time.
Note: If you’re new to adding captions in CapCut or want a full walkthrough before using scripts and transcripts, check out our complete guide on how to add captions on CapCut.
Method 1: The Direct Copy-Paste Workflow (Short Content)
If your video is under 2 minutes and the narration is simple, this is the fastest method.
Step 1: Prepare Your Script
Break your script into short, readable phrases.
Keep each phrase between 3–6 words. This makes captions easier to follow on screen.
Also, add line breaks where natural pauses happen.
If it helps, number each phrase so you can stay organized.
Example:
- Today I’m going to show you
- how to make perfect pasta
- in just ten minutes
- using only three ingredients
Step 2: Create a Caption Template in CapCut
Start by setting up one caption exactly how you want it to look.
- Import your video into the timeline
- Go to Text > Add Text
- Type your first phrase
- Apply your full styling:
- Font: Montserrat Black
- Size: 80%
- Color: White
- Shadow: Black (4px)
- Position it at 55% height, centered
This will be your base template for everything else.
Step 3: Duplicate and Populate
Now you’re just repeating a simple system.
- Copy your first text layer
- Move the playhead to where the next phrase should appear
- Paste the layer
- Replace the text with phrase #2
Repeat this for all phrases.
Step 4: Fine-Tune the Timing
This is where your captions start to feel clean and professional.
- Play the video and pause when each phrase is spoken
- Drag each caption layer to match the exact timing
- Adjust duration so:
- It appears 0.2 seconds before speech starts
- Stays visible during speech
- Ends 0.2 seconds after speech
Time estimate:
Expect about 1–2 minutes per phrase.
So a 30-phrase video will take around 30–60 minutes.
Master fully manual caption creation and precise timing with our CapCut Manual Caption Tutorial Guide.
Method 2: The Timestamped Script Method (Longer Content)
If you’re working with longer videos or need precise timing, this method is much more efficient.
Instead of guessing timing, you use timestamps as your guide.
What You Need
A transcript that already includes timestamps, like this:
00:00:05 Today I'm going to show you
00:00:08 how to make perfect pasta
00:00:11 in just ten minutes
00:00:14 using only three ingredients
Where to Get Timestamped Transcripts
You can get these from:
- YouTube auto-captions (from your own videos)
- Otter.ai, Rev.com, or Descript
- Zoom or Microsoft Teams recordings
- Or by manually timing while listening
Step 1: Format Timestamps for CapCut
CapCut works best when you think in seconds.
Convert timestamps like this:
- 00:00:05 → 5 seconds
- 00:00:08 → 8 seconds
- 00:00:11 → 11 seconds
Step 2: Create the First Caption
- Move your playhead to the first timestamp (e.g., 5 seconds)
- Add a text layer with your first phrase
- Apply your styling and positioning
Step 3: Use Time Differences for Placement
Now you follow the timing gaps between phrases.
- Phrase 2 at 8 seconds → place it 3 seconds after phrase 1
- Phrase 3 at 11 seconds → place it 3 seconds after phrase 2
Continue this pattern for the full script.
Step 4: Verify and Adjust
Even with timestamps, you still need a quick polish pass.
- Play the video at 2x speed to check overall timing
- Adjust any captions that feel too early or too late
- Fine-tune overlaps so everything flows naturally
Why This Method Is Faster
You’re not guessing anymore.
You already know when each phrase should appear.
That alone can cut your editing time by 60–70%.
Method 3: The Audio Waveform Sync Method (Precise Timing)
If you don’t have timestamps but you do have audio, this method gives you very accurate timing using CapCut’s waveform.
Step 1: Import and Zoom In
- Add your video or audio to the timeline
- Zoom in until the waveform is clearly visible
(Use Ctrl + scroll or pinch to zoom)
Step 2: Learn the Waveform
The waveform shows you how your audio behaves:
- Peaks = speech (words being spoken)
- Valleys = silence (pauses between phrases)
Once you get used to it, you can “see” where phrases begin and end.
Step 3: Mark Phrase Boundaries
- Play your audio
- Pause at the end of each phrase
- Use the Split tool at those points
This creates clear markers across your timeline.
Step 4: Add Captions to Each Segment
- Add a caption at the first split
- Let it run until the next split
- Paste in the matching phrase from your script
Repeat for the full video.
Step 5: Fine-Tune with Precision
Zoom in as much as possible and align captions with the waveform:
- Start = where the waveform rises (speech begins)
- End = where the waveform drops (speech ends)
Why This Works So Well
You’re not guessing anymore.
The waveform shows pacing, pauses, and emphasis visually so you don’t have to replay audio over and over.
Method 4: The External Tool Import Method (For Long Content)
If your video is 10+ minutes, doing everything manually will slow you down fast.
This method uses external tools to generate timing, then brings that structure into CapCut.
Tool Option 1: YouTube Studio (Free)
- Upload your video as unlisted
- Wait for auto-captions (usually 10–30 minutes)
- Download the
.srtfile from the subtitles section - Open it in a text editor to get timestamps + text
You’ll use this as a timing reference inside CapCut.
Tool Option 2: Descript (Best Overall)
- Import your video
- Auto-transcribe or paste your script
- Edit text directly while audio stays synced
- Export captions or timestamps
This gives you a clean, accurate timeline to follow.
Tool Option 3: Subtitle Edit / Aegisub (Advanced)
- Import your video
- Paste your script
- Use waveform tools to sync captions precisely
- Export as
.srt
Best if you want full control over timing.
Important Limitation
CapCut doesn’t reliably import .srt files as fully editable captions.
So you’ll either:
- Use the
.srtfile as a timing guide - Or burn captions into the video before bringing it into CapCut
Method 5: The Hybrid Auto + Manual Method (Best Balance)
This is the sweet spot for most people.
You use auto captions for timing, then replace the text with your script.
Step 1: Generate Auto Captions
- Go to Captions > Auto Captions
- Let CapCut create the timing structure
Step 2: Replace the Text
- Click each caption block
- Delete the auto-generated text
- Paste in your correct script
Step 3: Keep the Timing, Fix the Accuracy
- Timing = handled for you
- Text = fully accurate
You’re editing, not building from scratch.
Step 4: Final Adjustments
Auto captions won’t be perfect.
- Fix anything that feels too early or too late
- Clean up awkward splits or overlaps
Why This Method Works
You skip the hardest part, which is timing.
That alone makes this 50–70% faster than doing everything manually.
When Not to Use This
This method struggles when:
- Audio quality is poor
- Speakers have heavy accents
- There are multiple speakers
- The content uses technical terms
In those cases, go back to Method 2 or 3 for better control.
Script Formatting for Caption Conversion
Not every script works well for captions right away.
If you skip this step, your captions will feel cramped, rushed, or hard to read.
So before you bring anything into CapCut, clean up your script for visual delivery.
Step 1: Break Long Sentences
Long sentences don’t belong on screen.
Break them into short, readable chunks that match how people actually speak.
Original:
“Today I’m going to show you how to make perfect pasta in just ten minutes using only three ingredients that you probably already have in your kitchen.”
Caption-friendly:
“Today I’m going to show you”
“how to make perfect pasta”
“in just ten minutes”
“using only three ingredients”
“you probably already have”
Shorter lines = easier reading and better pacing.
See our guide on how to Fix captions that run too long or feel cramped after pasting your script
Step 2: Remove Non-Spoken Elements
Your captions should match what people hear, not what’s written in a script.
Remove anything that won’t be spoken:
- [laughs], [sighs] (unless you want them shown)
- Stage directions
- Notes or instructions
Keep it clean. Just the actual words.
Step 3: Mark Emphasis
Some words need to stand out visually.
Instead of figuring that out later, mark it now in your script.
- Use bold for words you want to highlight
- Use ALL CAPS for stronger emphasis
- Add (pause) where natural breaks happen
This makes styling and timing much faster later.
See our how to Add dynamic animations to your script-based captions for extra engagement guide.
Step 4: Identify Speaker Changes
If your video has more than one speaker, label it clearly.
Example:
HOST: Welcome to the show
GUEST: Thanks for having me
HOST: Let’s get into it
This helps you stay organized when placing captions and timing dialogue.
Timing Strategies From Your Script
Scripts don’t come with timing.
So you need a rough way to estimate before syncing to audio.
Average Speaking Speed
Most people fall into one of these ranges:
- Slow and clear: 100–120 words per minute
- Normal conversation: 130–150 words per minute
- Fast and energetic: 160–180 words per minute
Quick Time Estimates
You can use this to predict video length:
- 300 words ≈ 2 minutes
- 600 words ≈ 4 minutes
Per-Phrase Timing Guide
This helps when placing captions before fine-tuning:
- 4 words → ~1.5 seconds
- 6 words → ~2 seconds
- 8 words → ~2.5–3 seconds
Use these as a starting point, then adjust based on the actual audio.
Advanced Method: The Marker System (For Complex Projects)
If your video has multiple scenes or a lot of dialogue, this method keeps everything organized.
Step 1: Keep Your Script Visible
Have your script open on another screen or device.
If needed, print it out with extra spacing so it’s easy to follow.
Step 2: Mark While Listening
- Play your video in CapCut
- At the start of each phrase, press M (on desktop) or tap the marker button
Each marker becomes a visual reference point on your timeline.
Step 3: Add Captions at Each Marker
- Treat each marker as the start of a caption
- Add a text layer at that point
- Paste the matching line from your script
Step 4: Adjust Duration
- Let each caption run until the next marker
- Then go back and fine-tune timing
Why This Method Helps
Markers stay in your timeline even if you close the project.
So you can:
- Mark everything first
- Then come back later to add captions
It’s perfect when you don’t want to do everything in one sitting.
Quality Control: The Script-to-Caption Checklist
Before you export your video, run through this quick check.
It saves you from small mistakes that make your captions look unprofessional.
Accuracy
- Every word from your script appears in the captions
- No leftover auto-caption errors (if you used the hybrid method)
- Names, brands, and technical terms are spelled correctly
Timing
- Captions appear slightly before speech (about 0.1–0.2 seconds)
- Each caption stays on screen for the full phrase
- Nothing disappears while the speaker is still talking
- Natural pauses are reflected with small gaps between captions
Readability
- No caption exceeds 6 words (split longer lines)
- Font size is easy to read at a glance
- Text has a strong contrast against the background
- Captions don’t overlap with platform UI elements
Flow
- Caption changes feel smooth, not abrupt
- Key words or moments are visually emphasized
- Styling stays consistent from start to finish
Platform-Specific Script Adaptation
Different platforms need different caption styles.
If you use the same script everywhere, it won’t perform the same.
YouTube (Long-Form)
Longer content needs structure and clarity.
- Scripts are usually more detailed, so accuracy matters more than speed
- Use timestamp-based methods for anything over 10 minutes
- Add sections or chapters to guide viewers through the content
TikTok (Short-Form)
Short content is all about speed and attention.
- Cut your script down aggressively before captioning
- The first caption matters most — it needs to hook instantly
- Use shorter phrases and faster pacing
- Match your captions to the rhythm of trending audio when needed
Instagram Reels
Here, captions are part of the visual experience.
- Your script should match the overall aesthetic
- Slightly slower pacing works better than TikTok
- Treat captions like design, not just subtitles
Courses and Educational Content
Clarity beats everything here.
- Captions must match the script exactly
- Technical terms need to be 100% correct
- Slower pacing helps people understand and take notes
- Consider offering a full transcript alongside your video
Add Captions to CapCut From a Script FAQs
Can I add captions to CapCut from a script?
Yes. You can add captions to CapCut from a script by breaking the script into short phrases, creating a styled text layer, duplicating it across the timeline, and pasting each script line into the right place. For longer videos, use timestamps, waveform syncing, or a hybrid auto-caption workflow to save time.
What is the fastest way to turn a script into CapCut captions?
For short videos, the fastest method is copy and paste. Break your script into 3–6 word phrases, create one caption style, duplicate the text layer, then replace each duplicated layer with the next script phrase. After that, adjust timing to match the audio.
Can CapCut import an SRT file as captions?
CapCut does not always reliably import SRT files as fully editable captions, depending on your device and version. A safer workflow is to use the SRT file as a timing guide, then manually place or paste the caption text into CapCut.
How should I format my script before adding it to CapCut?
Break long sentences into short, readable caption phrases. Aim for 3–6 words per caption, remove non-spoken notes, mark speaker changes clearly, and place line breaks where natural pauses happen. This makes the captioning process much faster inside CapCut.
Can I use auto captions with my own script?
Yes. A good hybrid method is to generate auto captions first for timing, then replace the auto-generated text with your correct script. This keeps the timing structure while giving you cleaner, more accurate wording.
How do I sync script captions with audio in CapCut?
Use the audio waveform as a guide. Place each caption where the waveform rises at the start of a spoken phrase, then end it where the phrase finishes. For better readability, let captions appear slightly before speech and stay a little after the phrase ends.
What should I do for long scripts or interviews?
For long scripts, interviews, podcasts, or lectures, use timestamped transcripts or external tools like YouTube Studio, Descript, Subtitle Edit, or Aegisub to create timing references. Then use those timestamps to place captions inside CapCut more accurately.
How many words should each script caption have?
For most videos, keep each caption around 3–6 words. Shorter captions are easier to read on TikTok, Reels, and Shorts, while longer educational or YouTube captions can use slightly more words if they stay readable.
Is adding captions from a script better than using auto captions?
Yes, if accuracy matters. Auto captions guess what was said, but your script already has the correct words. Script-based captions are better for brand names, technical terms, courses, client videos, podcasts, and content where wording must be exact.
Final Thoughts
If you already have a script, you’re sitting on an advantage most people ignore.
Auto captions guess. Your script doesn’t.
When you use your script properly, your captions become cleaner, more accurate, and way more professional.
The real win is choosing the right method for the job:
- Short videos → simple copy-paste
- Longer content → timestamped scripts
- Big projects → external tools
- Faster workflow → hybrid method
Don’t default to auto captions just because they’re easy.
Take a little extra time to sync your script properly, and your captions will say exactly what you meant. No errors. No awkward edits. No surprises.