
If you’ve ever sat there staring at CapCut, waiting for the Lip Sync feature to work… only to find the option completely missing or greyed out? Trust me, you’re far from alone.
One morning I opened the CapCut app ready to sync audio and video, but the Lip Sync button wasn’t there. No error, no loading bar, just nothing.
I tried again, and again, and again. Nothing. At that moment, I realized just how many creators must be dealing with the same glitch.
CapCut’s Lip Sync tool can feel magical when it works. Tap a button, and your video syncs perfectly with your voice.
But when it breaks? It leaves you stuck, confused, and sometimes even panicking over deadlines.
The good news is this: the problem is common, the causes are predictable, and the fixes are much easier than most people think.
In this massive guide, you’ll learn:
- Why CapCut Lip Sync fails
- How to fix it fast
- Deeper solutions that nearly always work
- Alternatives when the tool refuses to cooperate
- How to prevent Lip Sync issues in the future
- 13 helpful FAQs
Let’s get right into it.
Table of Contents
- What’s Going On With CapCut Lip Sync Not Working?
- The Most Common Reasons CapCut Lip Sync Fails
- How to Properly Lip Sync in CapCut
- How to Quickly Fix CapCut Lip Sync Not Working
- Deep Fixes for CapCut Lip Sync Not Working
- Lip Sync Still Not Working in CapCut? Try These Alternatives
- How to Prevent Lip Sync Problems in the Future
- Frequently Asked Questions
- Frequently Asked Questions
What’s Going On With CapCut Lip Sync Not Working?
When CapCut Lip Sync works, it feels simple. You add your audio, turn on the feature, and CapCut tries to match the mouth movement to the spoken words.
But when it fails, the problem usually comes from one of three places: the audio, the clip, or the app itself.
CapCut needs clear speech, a detectable face or mouth area, enough device resources, and a stable connection for AI processing. If one of those things is off, Lip Sync may freeze, disappear, process slowly, or generate poor results.
Common signs include:
- The Lip Sync option is missing or greyed out.
- The tool loads but does not generate movement.
- The audio is detected, but the lips do not match the words.
- The clip freezes after you tap Lip Sync or Auto Sync.
- The preview looks laggy, delayed, or out of rhythm.
The good news is that most CapCut Lip Sync problems are fixable. In many cases, the issue is not your whole project. It is usually unclear audio, an outdated app, weak internet, low storage, a temporary CapCut glitch, or a clip that is too difficult for the tool to read.
The Most Common Reasons CapCut Lip Sync Fails
CapCut Lip Sync can fail for several reasons, but most problems come from audio quality, app performance, internet connection, or feature availability.
Here are the most common causes to check first:
1. The Audio Is Not Clear Enough
CapCut needs clean speech to detect mouth movement properly. Background music, wind, traffic, echo, low volume, or multiple voices talking at once can confuse the tool.
2. The Audio File Is Low Quality or Unsupported
Compressed TikTok sounds, WhatsApp voice notes, screen recordings, or low-bitrate audio files can make Lip Sync less accurate. A clean MP3, WAV, or freshly recorded voiceover usually works better.
3. Your CapCut App Is Outdated
AI features like Lip Sync can break or disappear on older versions of CapCut. Updating the app often fixes missing buttons, loading issues, and processing errors.
4. CapCut Is Glitching Temporarily
Sometimes the issue is not your clip. CapCut may freeze, fail to load the feature, or hide the option because of a temporary app bug, corrupted cache, or server-side problem.
5. Your Device Is Low on Storage or Memory
Lip Sync needs processing power. If your phone or computer is low on storage, RAM, or battery performance, CapCut may struggle to generate the effect properly.
6. Your Internet Connection Is Weak
Some AI tools in CapCut need cloud processing. If your Wi-Fi or mobile data is unstable, Lip Sync may freeze, process slowly, or fail before completing.
7. The Feature Is Limited by Device, Account, or Region
CapCut does not always roll out AI features to every account, device, or country at the same time. If Lip Sync is missing on one device but appears on another, the issue may be availability rather than a broken project.
Once you know the likely cause, fixing the problem becomes much easier. Start with the simple checks first: update CapCut, test cleaner audio, switch networks, clear cache, and try a shorter clip.
How to Properly Lip Sync in CapCut
Before blaming CapCut for not working, it helps to make sure you are using the Lip Sync tool correctly. A clean setup gives the feature a much better chance of working.
1. Start With a Clear Clip
Open CapCut, create a new project, and import the video or image you want to lip sync.
For best results, use a clear face-facing clip where the mouth area is visible. Blurry footage, side angles, low frame rates, or covered mouths can make the lip movement look unnatural.
2. Prepare Clean Audio
Use clear human speech with minimal background noise. You can record a voiceover, upload an audio file, or use CapCut Text-to-Speech if that option is available in your version.
If the audio has music, echo, wind, or heavy compression, clean it first before using Lip Sync.
3. Select the Clip and Turn on Lip Sync
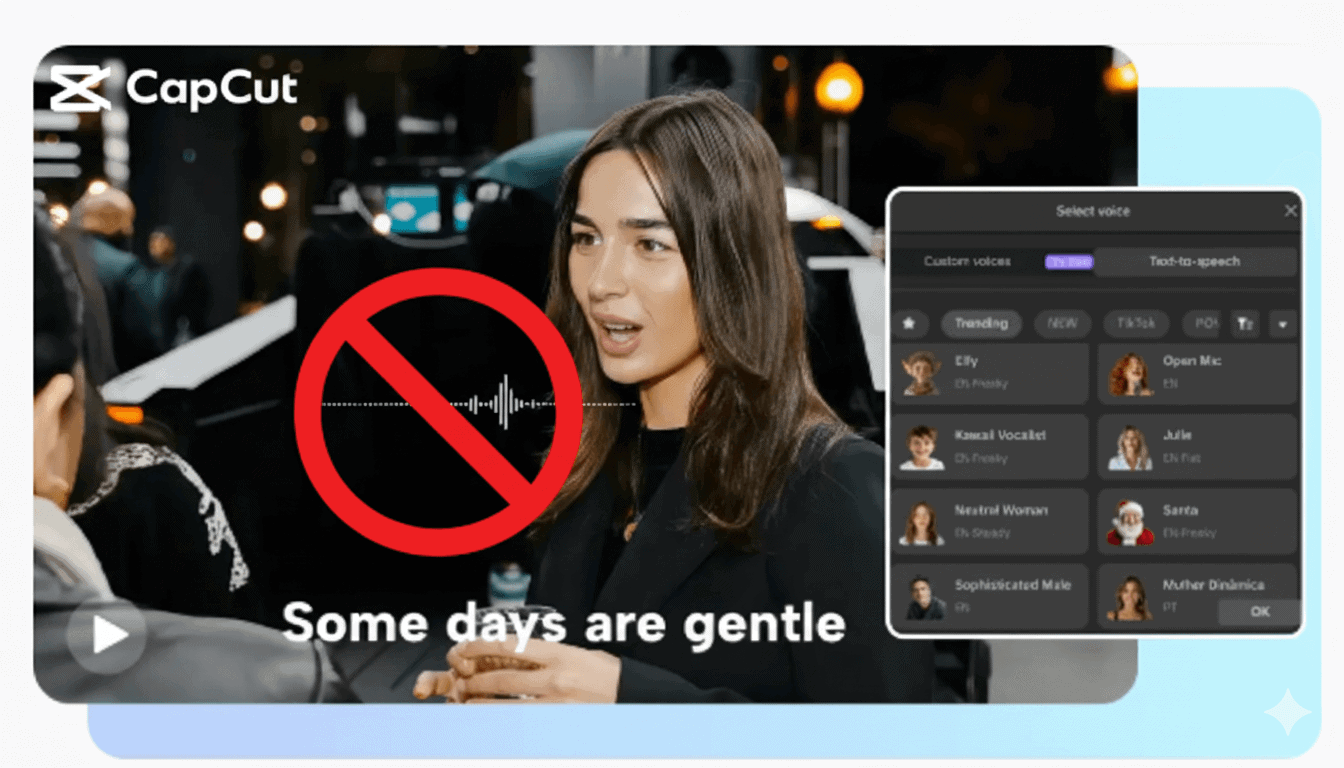
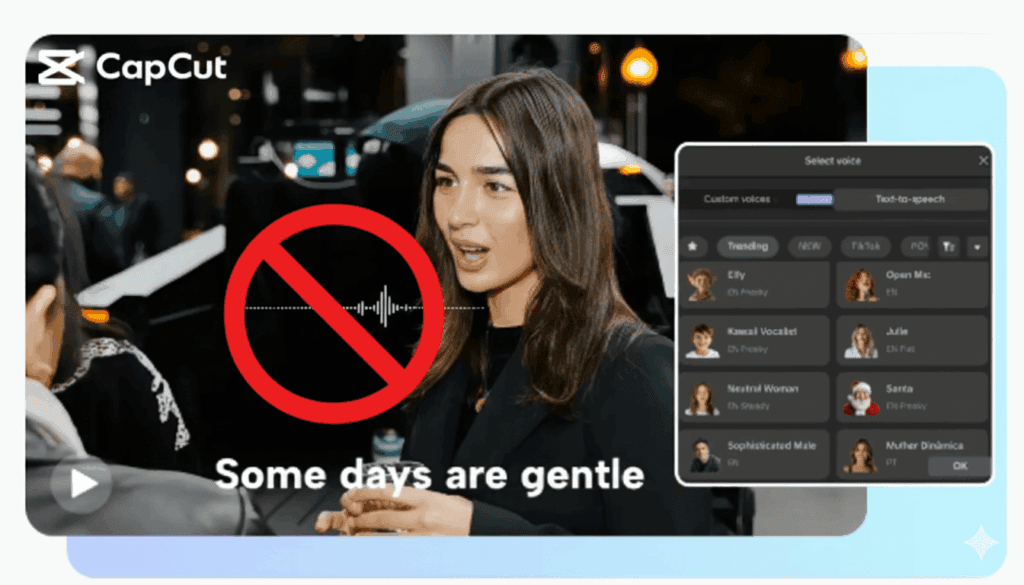
Select the clip on your timeline, then look for the Lip Sync option in the editing panel. Depending on your CapCut version, it may appear under video, AI tools, basic settings, or a related face/animation section.
Add your text or connect the audio you want CapCut to use. Then let CapCut process the lip movement.
4. Use Short Phrases for Better Accuracy
Do not feed CapCut a long monologue if you want clean results. Shorter phrases are easier for the tool to process and easier to fix if something goes wrong.
If the audio is long, split it into smaller sections and apply Lip Sync one part at a time.
5. Check the Timing Manually
After CapCut generates the lip movement, play the clip and compare the mouth movement with the audio waveform.
If the lips move too early or too late, nudge the audio slightly left or right on the timeline. For better accuracy, zoom into the waveform and align strong mouth sounds like “p,” “b,” “m,” and “t” with the mouth movement.
6. Polish the Audio Before Export
Make sure the voice is clear, balanced, and not clipping. Lower background music, remove rumble if needed, and keep the voice loud enough to be understood.
Clean audio does not only sound better. It also helps CapCut process Lip Sync more accurately.
7. Export and Test the Final File
When the sync looks right, export the video and watch the saved file before uploading it to TikTok, Instagram, or YouTube.
Use safe export settings like 1080p, MP4, H.264, and a strong bitrate. If the exported version looks slightly off, go back to the project and adjust the audio timing before uploading.
How to Quickly Fix CapCut Lip Sync Not Working
Before you try deeper fixes, start with the simple checks. Many CapCut Lip Sync problems come from temporary app glitches, weak internet, unclear audio, or a project file that is too heavy.
1. Close CapCut and Open It Again
Force close CapCut completely, then reopen the app and try Lip Sync again. This can clear small session glitches that stop the tool from loading or processing.
2. Restart Your Phone or Computer
If CapCut has been open for a long time, your device may be low on memory. Restarting frees up RAM and can help AI tools like Lip Sync run more smoothly.
3. Check Your Internet Connection
CapCut Lip Sync uses AI processing, so a weak or unstable connection can make the feature freeze, fail, or process slowly. Switch between Wi-Fi and mobile data, turn off VPN if needed, and test again with a short clip.
4. Update CapCut
Open the App Store, Google Play Store, Microsoft Store, or CapCut desktop updater and check for the latest version. CapCut’s Help Center says newer versions are designed to be faster, more stable, and include updated features, so updating is one of the first fixes to try when AI tools disappear or stop working. :contentReference[oaicite:1]{index=1}
5. Clear CapCut Cache
Cache buildup can cause tools to freeze, fail, or behave strangely. On mobile, go to your device settings, find CapCut, then clear cache. On CapCut Web, CapCut recommends clearing browser cache and cookies if web features are not loading correctly. :contentReference[oaicite:2]{index=2}
Important: Clear cache, not app data, unless you have backed up your projects. Clearing app data can remove local files or drafts.
6. Test a Shorter Clip
Long clips can make Lip Sync harder to process. Create a new project with a short 5–10 second clip and clean voice audio. If Lip Sync works there, your original project may be too long, too heavy, or corrupted.
7. Test a Cleaner Audio File
If the audio is noisy, compressed, muffled, or mixed with music, CapCut may struggle to detect speech. Try a clean voice recording, MP3, or WAV file. If the clean version works, the original audio was likely the problem.
If these quick fixes do not work, move on to the deeper fixes below.
Deep Fixes for CapCut Lip Sync Not Working
If Lip Sync is still missing, greyed out, stuck, or generating poor results, the issue may be coming from the app version, project file, audio format, permissions, storage, or account access.
1. Confirm You Are Using the Right Lip Sync Workflow
On CapCut Desktop or Web, the official workflow is to select your clip, go to Video, open Basic, and enable Lip sync. From there, you can type dialogue into the text box or use Add audio to upload a voice clip. :contentReference[oaicite:3]{index=3}
If you are looking in the wrong menu, the feature may seem missing even when it is available in your version.
2. Reinstall CapCut If Updating Does Not Help
If updating does not restore Lip Sync, uninstalling and reinstalling CapCut can remove corrupted local files. Before doing this, make sure your drafts are backed up, synced, or exported, especially on mobile.
3. Clean or Convert Your Audio
CapCut Lip Sync works best with clear human speech. If your audio is messy, convert it to a cleaner format before trying again.
- Remove background noise where possible.
- Lower or remove background music.
- Convert the audio to MP3 or WAV.
- Re-export the voiceover at a higher quality.
- Keep the dialogue short and clear.
A clean voice track gives CapCut a much better chance of detecting speech and matching mouth movement correctly.
4. Split Long Clips Before Applying Lip Sync
If your clip is long, split it into shorter speaking sections first. Apply Lip Sync to one section at a time instead of forcing CapCut to process a long monologue in one pass.
This helps reduce freezing, poor mouth movement, and failed processing.
5. Free Up Storage and Close Background Apps
AI features need enough device resources to process properly. Close other apps and free at least 2–5 GB of space on mobile before trying again.
If you are on desktop, close heavy apps like browsers, screen recorders, games, or other editors before processing Lip Sync.
6. Check CapCut Permissions
Make sure CapCut has permission to access the files, media, microphone, and storage it needs. If permissions are blocked, imported audio or voice recording features may not work correctly.
On mobile, check this in your phone’s app settings. On web, check browser permissions and make sure you are using a supported, updated browser.
7. Try CapCut Web or Another Device
If Lip Sync fails on your phone, test it on CapCut Desktop or CapCut Web. CapCut’s Lip Sync page promotes the tool across its editing workflow, and some AI features may behave differently depending on platform, version, account, or region. :contentReference[oaicite:4]{index=4}
If it works on another device, the problem is likely your app installation, device performance, or local project file.
8. Wait If It Looks Like a Server Issue
If Lip Sync suddenly stops working for multiple projects, multiple clips, and multiple devices, the issue may be on CapCut’s side. In that case, updating or reinstalling may not fix it immediately. Wait and try again later.
The safest order is: update CapCut, test a short clean clip, clear cache, check internet, try another device, then reinstall only if your projects are backed up.
Lip Sync Still Not Working in CapCut? Try These Alternatives
If CapCut’s built-in lip sync absolutely refuses to cooperate, don’t worry, there are still reliable ways to sync your audio without the auto feature.
These methods take a few extra minutes but give you full control and often result in even better accuracy.
1. Manually sync the audio
Zoom into your timeline, identify peaks in the audio waveform, and match them to your mouth movements.
Pro tip: Play the clip at 0.5x speed to get perfect alignment.
2. Use an external audio editor
Tools like:
- Audacity
- Adobe Audition
- Voice.ai (for cleaning voiceovers)
- iZotope RX (noise reduction)
can clean your audio so well that CapCut’s lip detection might work when you bring it back in.
3. Use CapCut templates with built-in lip sync
Many CapCut templates, especially TikTok-style ones, already include synced animations.
Just replace the clip, and the template handles the timing.
4. Record a fresh voiceover
If your audio is too noisy or muffled, start fresh.
CapCut’s built-in voice recorder gives you a clean track, and freshly recorded audio syncs far better than imported audio.
5. Use CapCut for the edit, but sync in another app
Apps like:
- InShot
- VLLO
- Kinemaster
have easy-to-use manual-syncing tools and sometimes handle lip-sync detection better depending on the device.
So even when CapCut’s auto lip sync refuses to function, you’re not stuck — you’ve still got multiple paths to a polished, professional-looking result.
How to Prevent Lip Sync Problems in the Future
Once you’ve fixed the issue, the last thing you want is for CapCut’s lip sync to break again right when you need it. The good news? You can dramatically reduce the chances of future problems by following a few simple habits.
1. Keep Your Audio Clean and Clear
CapCut’s lip sync tool works best when your audio meets these standards:
- Minimal background noise
- Clear pronunciation
- No overlapping music or effects
- Consistent volume
Even mild noise can confuse speech detection, so clarity is key.
2. Record in a Quiet Environment
Small steps can make a big difference:
- Record indoors
- Use a dedicated microphone
- Place a blanket or sound absorber behind the camera to reduce echo
These adjustments improve audio clarity and ensure accurate lip sync.
3. Keep CapCut Updated
CapCut frequently releases updates that fix bugs affecting auto lip sync and other AI features. Turn on auto-updates to prevent features from randomly breaking.
4. Avoid Running Too Many Apps at Once
Editing apps need a lot of memory. Closing other apps:
- Helps CapCut run smoothly
- Prevents lag that can interrupt effects
This simple habit reduces crashes and performance issues.
5. Free Up Storage Regularly
Low storage can:
- Corrupt files
- Slow down processing
- Cause effects to fail
Keep at least 2–5 GB free on mobile, and more on PC, to avoid performance issues.
6. Use High-Quality Audio Sources
When importing audio:
- Stick to well-recorded files
- Avoid compressed or low-bitrate audio from social media or screen recordings
High-quality audio ensures CapCut accurately matches lip movements.
7. Check Permissions After Updates
App updates can reset permissions without warning. If CapCut suddenly feels “off,” recheck:
- Storage access
- Microphone permission
- Media files access
A simple permission toggle can save hours of troubleshooting.
Following these habits keeps CapCut’s lip sync feature running smoothly and dramatically reduces the chance of hitting the same frustrating issue again.
Following these habits keeps CapCut’s lip sync feature running smoothly and reduces the chance of hitting the same frustrating issue again.eature running smoothly and reduces the chance of hitting the same frustrating issue again.
Frequently Asked Questions
Frequently Asked Questions
Why is the Lip Sync option not showing in CapCut?
The Lip Sync option may be missing because your CapCut app is outdated, the feature is not available in your region yet, your device does not support it properly, or CapCut is having a temporary app or server-side issue. Update the app, restart CapCut, and test with a new project to confirm.
Why does CapCut Lip Sync freeze or get stuck while processing?
CapCut Lip Sync can freeze when the internet connection is unstable, CapCut’s AI servers are slow, the clip is too long, the audio is unclear, or your device is low on storage or memory. Try a shorter clip, switch networks, clear cache, and restart the app.
Do I need AI credits for CapCut Lip Sync to work?
In some versions or regions, CapCut Lip Sync may depend on AI credits, Pro access, or account-based limits. If your credits are depleted or your account does not have access, the feature may fail, disappear, or ask you to upgrade.
What type of audio works best for CapCut Lip Sync?
Clear human speech works best. Avoid background music, wind, echo, overlapping voices, distorted audio, and heavily compressed voice notes. Short, clean voice clips usually give better lip sync results than long or noisy audio tracks.
Can I use CapCut Lip Sync on a photo?
You may be able to try Lip Sync on a photo depending on your CapCut version, but results can be inconsistent. The feature usually works better with clear video clips or face-focused media where CapCut can detect the mouth area more accurately.
Why does Lip Sync work on some clips but not others?
If Lip Sync only fails on certain clips, the problem may be the source file. Low-quality video, unsupported codecs, unclear faces, noisy audio, long timelines, or corrupted media can stop CapCut from processing the lip sync correctly.
I have CapCut Pro. Why is Lip Sync still not working?
CapCut Pro does not guarantee that Lip Sync will work every time. Server downtime, region restrictions, account issues, app bugs, poor audio, or device limitations can still cause the feature to fail even if you have a paid plan.
Will clearing cache or reinstalling CapCut fix Lip Sync?
It can help if the issue is caused by corrupted temporary files, app glitches, or broken local data. Clear CapCut cache first. If that does not work, reinstall the app after making sure your projects are backed up or synced to your account.
What can I do if CapCut Lip Sync still does not work?
Use a manual workaround. Clean or re-record the audio, align it with the mouth movement using the waveform, split long clips into shorter sections, or sync the audio in another editing app before bringing the finished result back into CapCut.